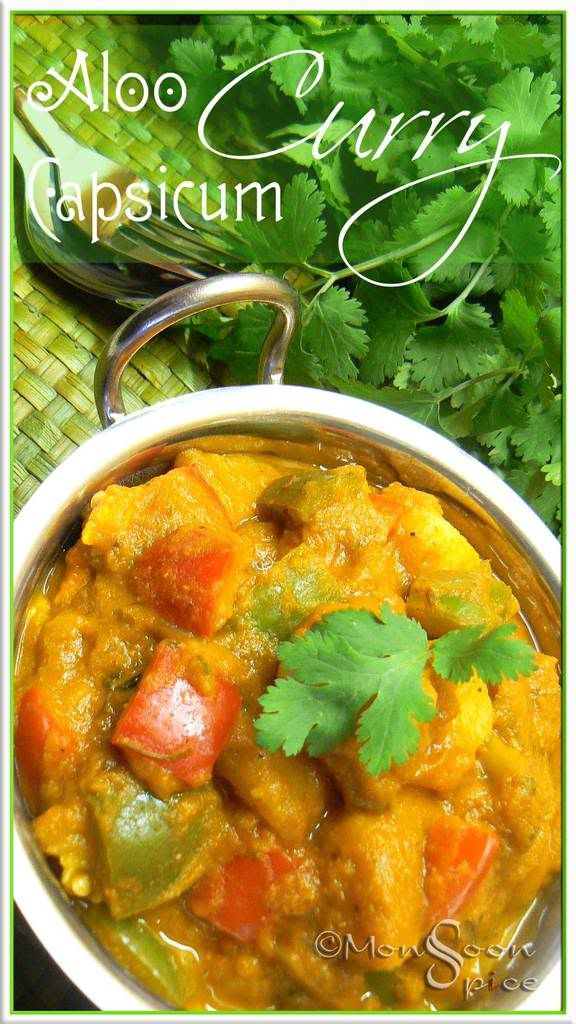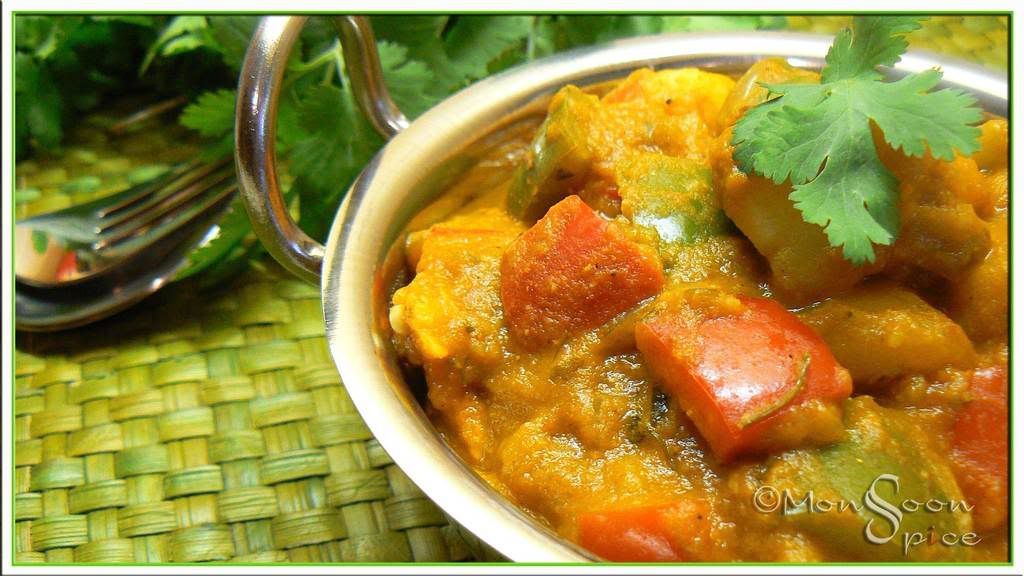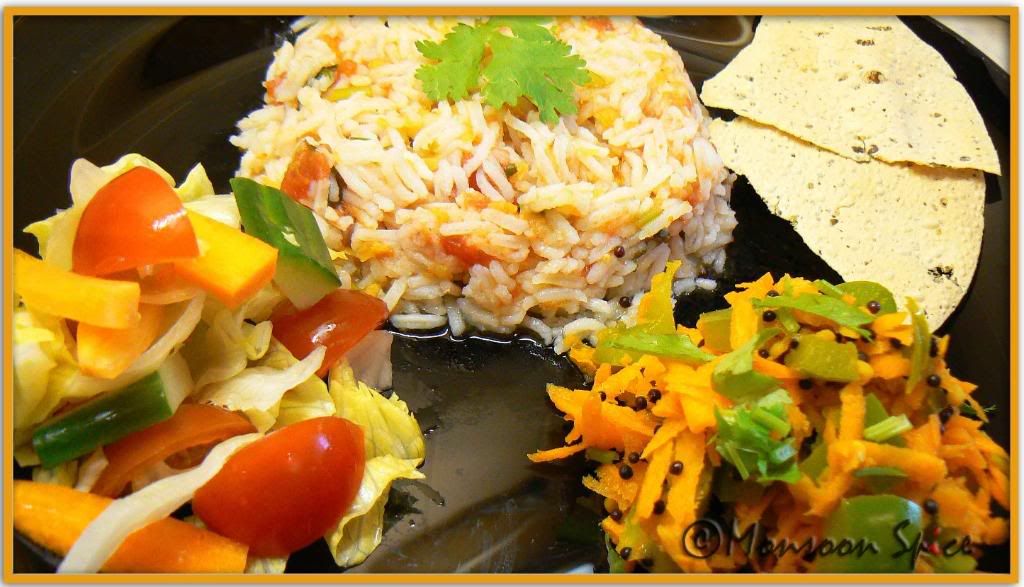
Our Comfort Food: Rasam Rice, Papads, Pepper-Carrot Palya and Salad
"Food, like a loving touch or a glimpse of divine power, has that ability to comfort."
-Norman Kolpas
Our senses hold some of our most potent memories. Touching the silk or smelling herbal soap, aroma of ground coffee brewing in coffee maker or sizzling of curry leaves in oil sends me back in time to my Ajji’s kitchen. There is a delicious Rasam bubbling in a large copper pot over an open fire-wood heated stove in one corner; one helper is pounding red chillies and spices in other corner while my aunt is grinding freshly grated coconut with chillies for chutney in a stone grinder. There is a small stream of water flowing close to the kitchen, with just the right breeze causing a mist to drift across my face, tickling my nose. I am sitting cross legged on red oxide floor with my sister and cousins wondering where to have our picnic lunch, that day’s most important question. The sight, smell and taste of what my granny cooked are fresh and vivid memories which I will always carry with me.
While cooking everyday meals, I find myself musing lately over comfort foods. If I were to ask you what food you associate with feeling good, what would be your answer? I know that your answer is probably different from what I consider to be my comfort food, mainly because of our individual life experiences, backgrounds and cultures. Comfort food satisfies our soul as well as the stomach and that’s why we love it so much. Often these dishes remind us of our childhood, happy memories. Cooking up that dish our Granny or Mom or Aunt used to make is as soothing as eating it because it reminds us of a time when life was simpler. My Amma would always say that the reason why comfort food always tastes best is because it is shared with our loving family and friends with no frills, just with love. The kitchen filled with the aroma and scent of food that brings back warm and fond memories is what makes it more comforting and as these recollections takes place around the table with our loved one, yet another fond and loving memory is born.
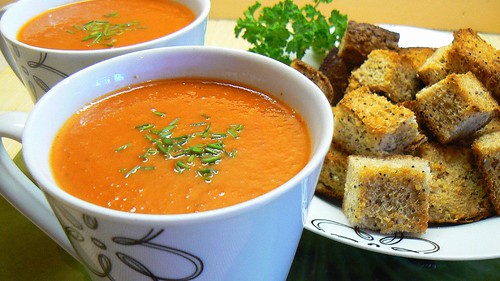
Like most people, I don’t have just one memory associated with just one food. I have good number of favourite foods which fall under comfort food zone. These recipes are simple with minimal ingredients used and are unpretentious. But these are the food which oozes with flavours and make me feel good when preparing and eating them. One such dish is simple tangy Tomato Saaru with Pepper-Carrot Palya. They are simple culinary delights I crave, just for comfort...
After many unsuccessful attempts at making simple Tomato Saaru which I wanted to taste just like the one my Amma and Ajji makes my hubby surprised me with his Rasam. It tasted as good as the one I remembered eating when growing up-same flavour, same aroma, same colour and same taste. Although he used the similar ingredients which most of us use when making Rasam it tasted different from what I cook. I immediately wrote down his recipe and tried it next time using same measures and ingredients and following his method. Darn!!! There was still something missing, may be it’s to do with the taste which goes into ingredients when he touches them. Since then it’s Krish who makes Rasam for me, the one which is comfort food for me and takes me down the memory lane.
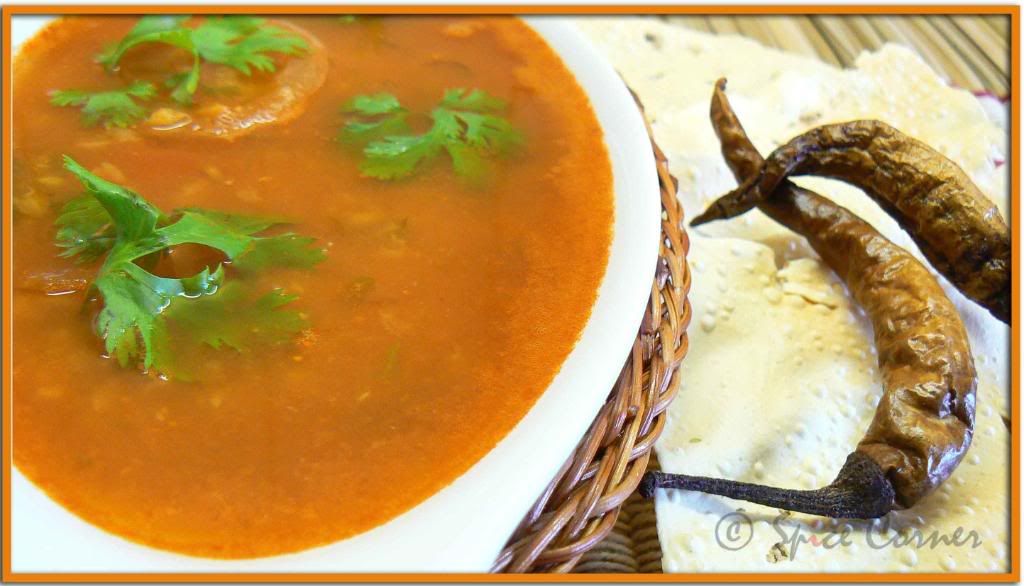
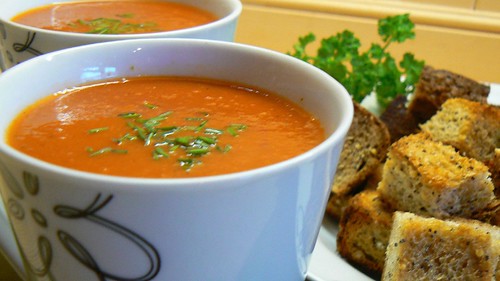
Tangy Tomato Saaru
 Print This Recipe
Tomato Rasam
Prep Time: 10 mins
Cooking Time: 20-25 mins
Serves: 3-4
Ingredients:
3-4 large ripe & juicy Tomatoes, thinly sliced or chopped
¾ cup Toor Dal, picked and washed
1 tbsp Rasam Powder
1 large marble sized Tamarind Pulp/½ tbsp Tamarind Puree
2 Green Chillies, slit
½-1 medium Onion, thinly sliced or roughly chopped
½ inch Ginger, crushed
½ tsp Turmeric Powder
½ tsp Black Pepper, lightly crushed using pestle and mortar
½-1 tbsp Jaggery
2-3 tbsp Coriander Leaves, finely chopped
Salt to taste
For Tempering:
1 tsp Mustard Seeds
1 tsp Jeera/Cumin Seeds
½ tsp Black Peppers
3-4 cloves of Garlic
1-2 Dry Red Chilli, broken
Few Curry Leaves
A big pinch of Hing/Asafoetida
½ tbsp Oil/Ghee
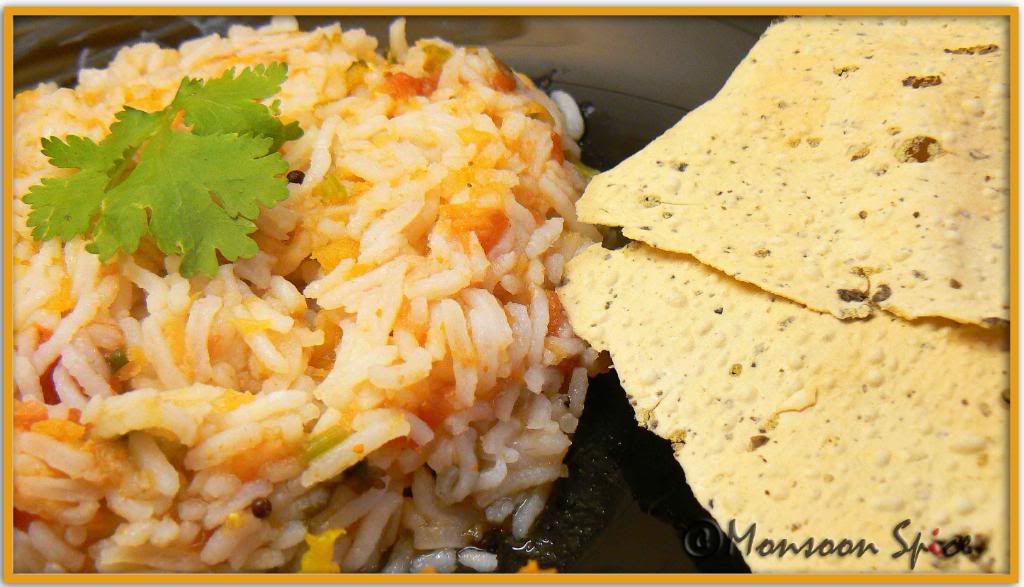
Rasam Rice with Papads
Method:
Cook toor dal with 2 cups of water, turmeric and a tsp of oil in pressure cooker for about 15-20 minutes till they are nicely cooked.
Release the pressure from pressure cooker before you open the lid and roughly mash the cooked dal with ladle or potato masher.
Soak tamarind pulp in half a cup of warm water for about 5 minutes and squeeze the pulp to release its juice. Discard the pulp once used.
Transfer cooked dal into heavy bottomed pan and add sliced onions, slit green chillies, crushed ginger and about 2-3 cups of water and boil it for about 5 minutes in medium flame.
Add sliced tomatoes, tamarind extract, rasam powder, jaggery, crushed black peppers and salt to taste and simmer the heat and cook for another 20-30 minutes on medium to low flame.
Add more water if you feel the rasam is thick. When rasam is reduced to ¾th of its quantity, mix in chopped coriander leaves.
For tempering, first crush cumin seeds and black pepper in a mortar and pestle. Also roughly crush garlic cloves and keep it aside. Heat oil in a pan and add mustard seeds, broken red chillis, crushed cumin-pepper-garlic, hing and curry leaves in that order and when mustard starts to pop and splutter transfer the tadka to rasam and mix well. Let the Rasam simmer for another 5 minutes for all the flavours to blend well.
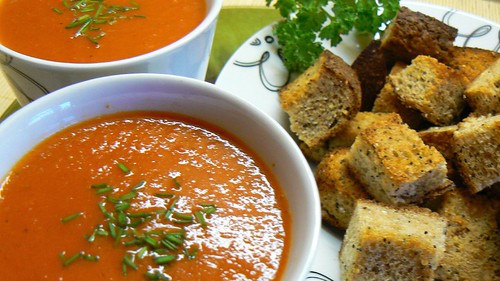
Serve hot rasam with steamed rice and papad or serve in a bowl as a soup.
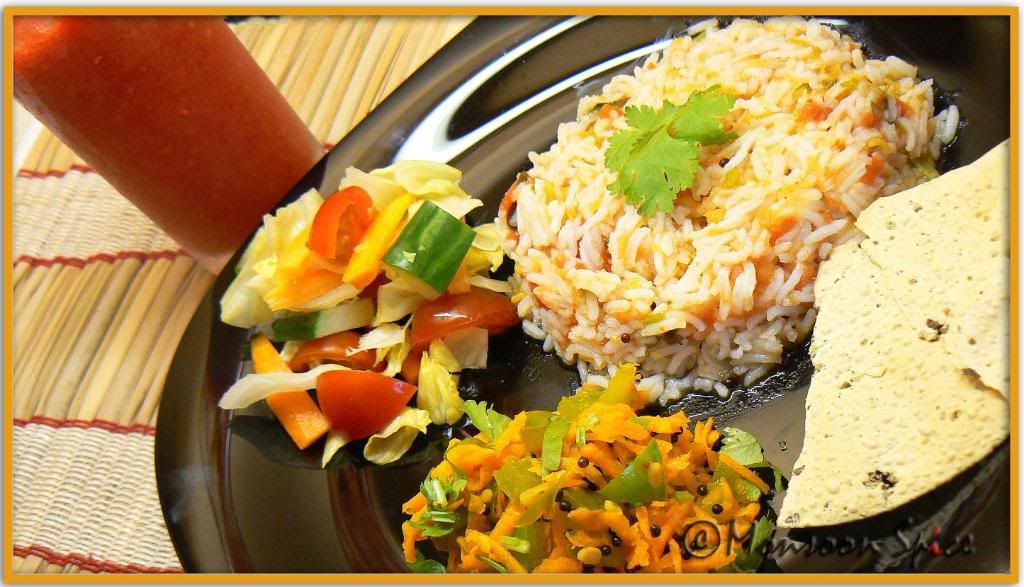
Rasam Rice, Papads, Pepper-Carrot Palya and Salad: Our Simple Meal
There is nothing better than a simple vegetable stir fry and Pepper-Carrot Palya which my mom made is something I would happily eat as a salad with Yogurt or as a side dish with Rasam Rice. The beauty of this dish is its simplicity with minimal preparation and cooking time. Stir fried green pepper and grated carrot is spiced up with simple seasoning and a splash of lime juice makes it comfort food for me.
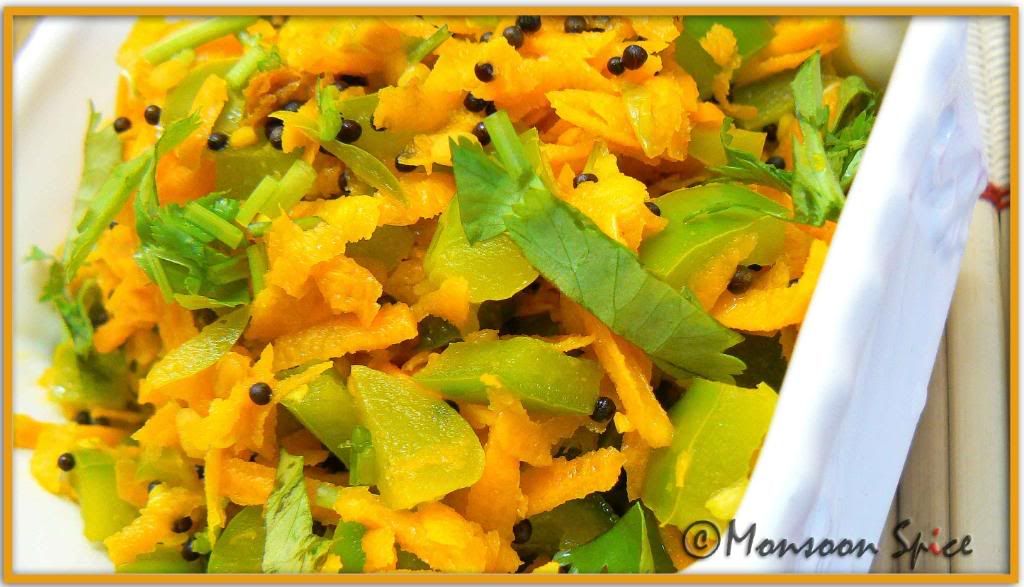
Pepper-Carrot Palya
Print This Recipe
Pepper-Carrot Palya
Prep Time: 10 mins
Cooking Time: 5 mins
Serves: 2-3
Ingredients:
2 cups Grated Carrot
1 large Green Pepper/Capsicum, cut into 1 cm squares
1 Green Chilli, sliced (Optional)
1-2 tbsp Lemon Juice
½ tsp Jaggery/Sugar
A pinch of Turmeric Powder
1 tbsp Coriander, finely chopped
Salt to taste
For Tempering:
1 tsp Mustard Seeds
1 tsp Urad Dal
1 Dry Red Chilli, broken
A Spring of Curry Leaves
1 tsp Oil
A pinch of Hing/Asafoetida
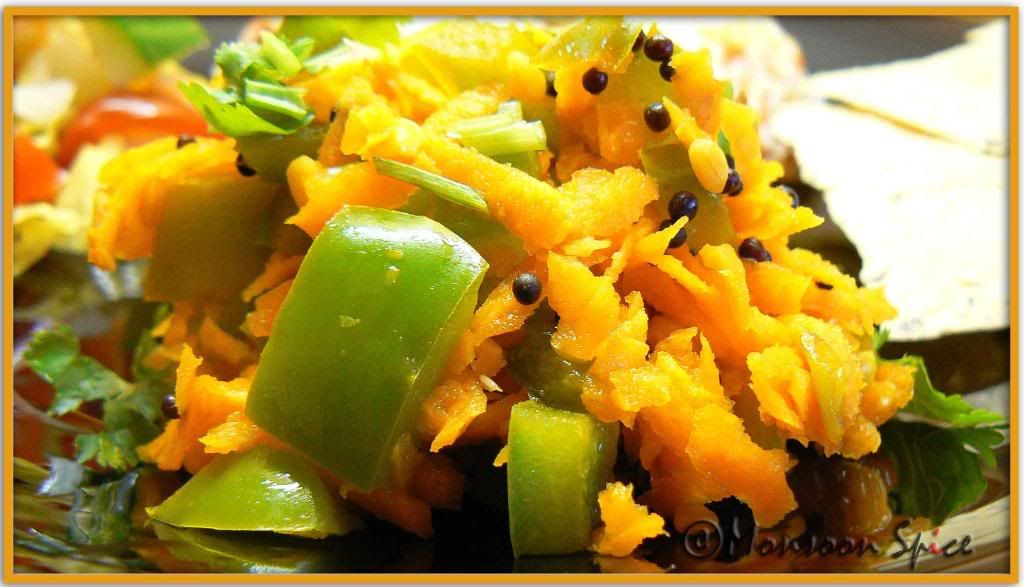
Pepper-Carrot Palya
Method:
Heat oil in a pan and add urad dal, broken red chilli, mustard seeds, hing and curry leaves in that order.
When urad dal turns golden yellow and mustard starts to pop and splutter, add chopped capsicum pieces, slit green chilli and sauté over medium heat for about 1-2 minutes till its skin starts to wilt.
Now add turmeric powder, jaggery, grated carrots and salt to taste and sauté them for about 1 minute till the heat is equally spread. Make sure that you don’t over cook pepper and carrots and they should retain their colour and crunch.
Turn of the gas and mix in lemon juice and chopped coriander leaves. Serve hot with Rasam Rice or eat it with yogurt the way I prefer.