We may live without poetry, music and art;
We may live without conscience,
and live without heart;
We may live without friends;
we may live without books;
But civilized man cannot live without cooks.
-Owen Meredith, 'Lucile’
We are living in a modern busy world. World filled with busy people, busy families, busy work life with busy routine. We have everything we need or we want at our fingertips. Tired after long busy day at office? No worries, there are hundreds of restaurants or take-a-ways right next to the door. Feel like eating watermelon for Christmas? Just fetch one from local grocery store or supermarket who has them shipped from some exotic corner of the world. Did you say you like Chinese food? No worries, just pop into airport, catch the first plane to china to eat it fresh from the kitchen in few hours. Yes, almost everything is doable in this incredible, modern world. Almost everything… With everything looking incredibly simple can we make cooking as simple as possible? I am not talking about fast food here. I am talking about delicious, tasty, healthy home cooked food packed with nutrition.
I am a through and through “foodie” by heart. Although I love to cook, spending time in the kitchen isn’t always possible. At a same time I am not very fond of popping a pizza from freezer to oven or dialling nearest take-a-way. Eating out and convenience food may sound good for some time but at the same time they are expensive and packed with fats and calories. Having been a big foodie all my life, I have seen my Amma, Aunts and Atte prepare delicious, nutritious and healthy meals with little cooking time. They never compromised on the quality of the food cooked quickly. So express cooking doesn’t mean compromising on taste or quality of the food.
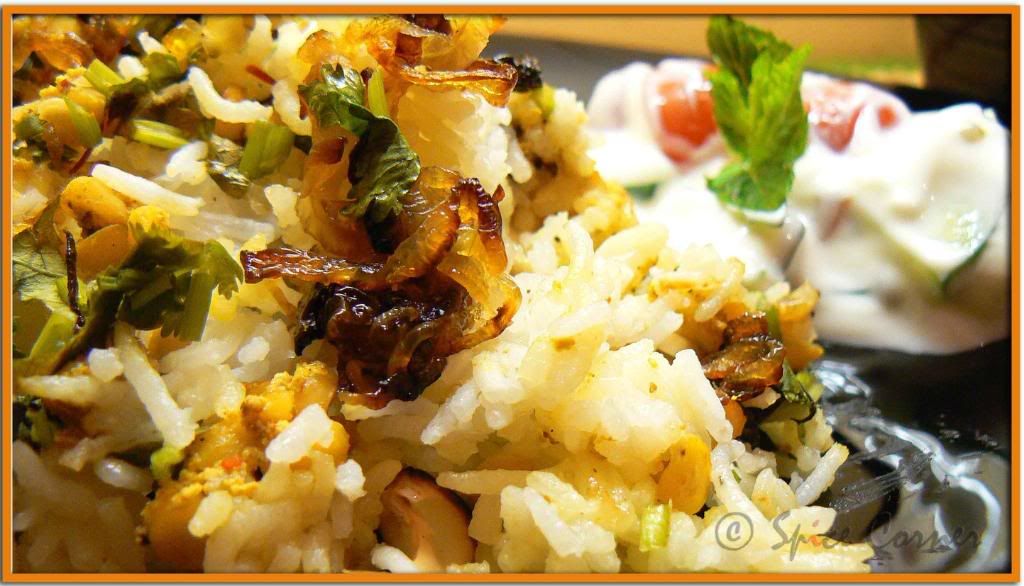
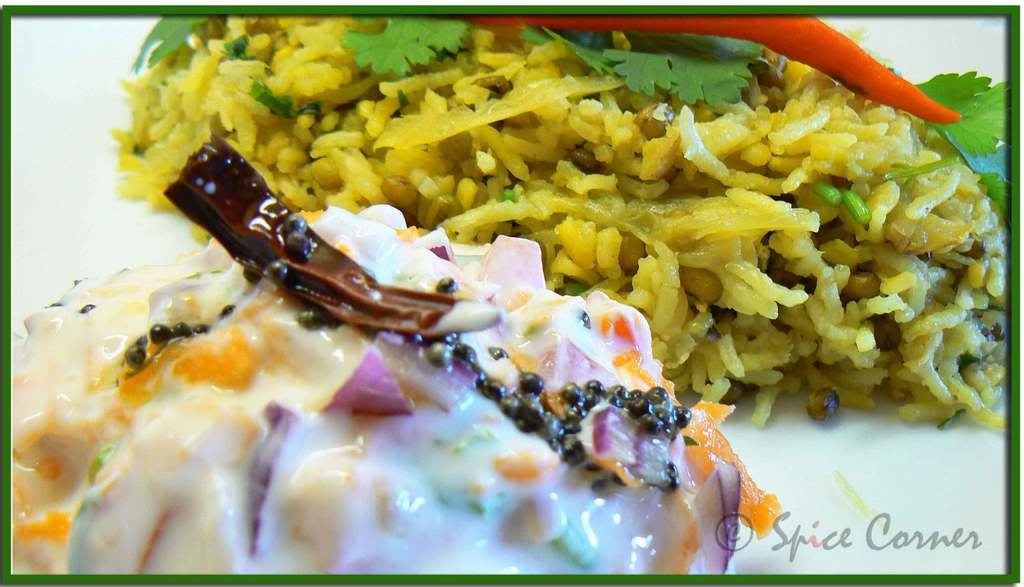
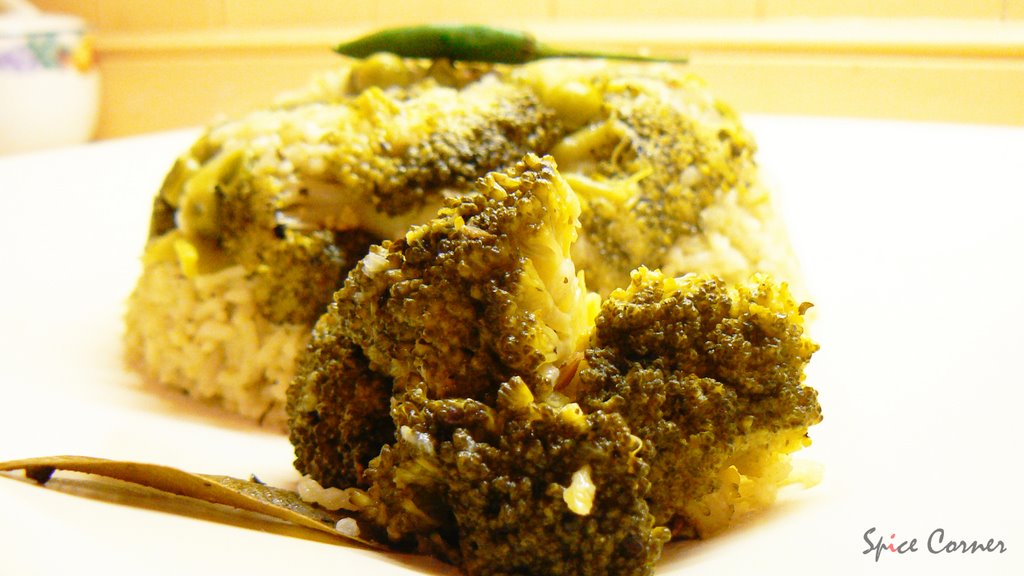
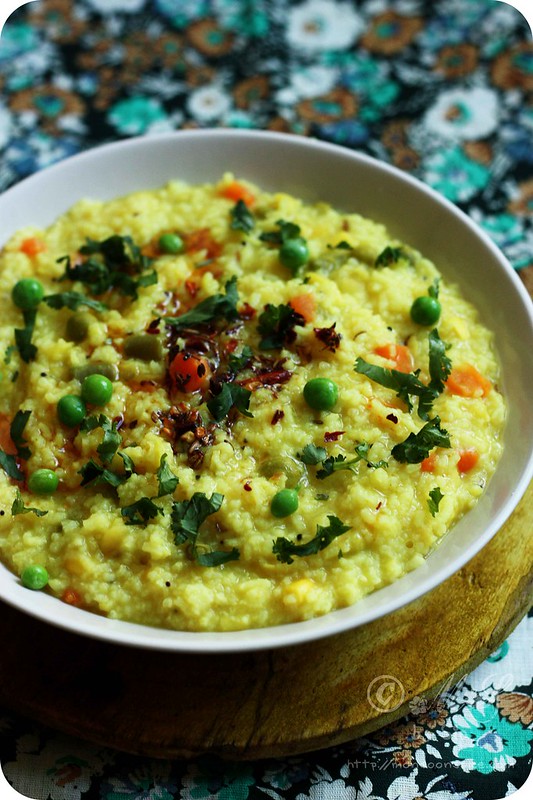
Moong Kichidi with Carrot Raita

When Shaheen of
Malabar Spices came with an idea of
Express Summer Cooking I was overjoyed. Here not only I can share some of my favourite easy-peasy dishes which take very minimal preparation and less cooking time but also I will get to see and learn from fellow bloggers. At last when it started to feel like summer in my part of the world what more can I ask than collecting some recipes which don’t need me slogging in my kitchen for hours. I can think of lots of other activities for this summer than just sweating away in my tiny kitchen ;)
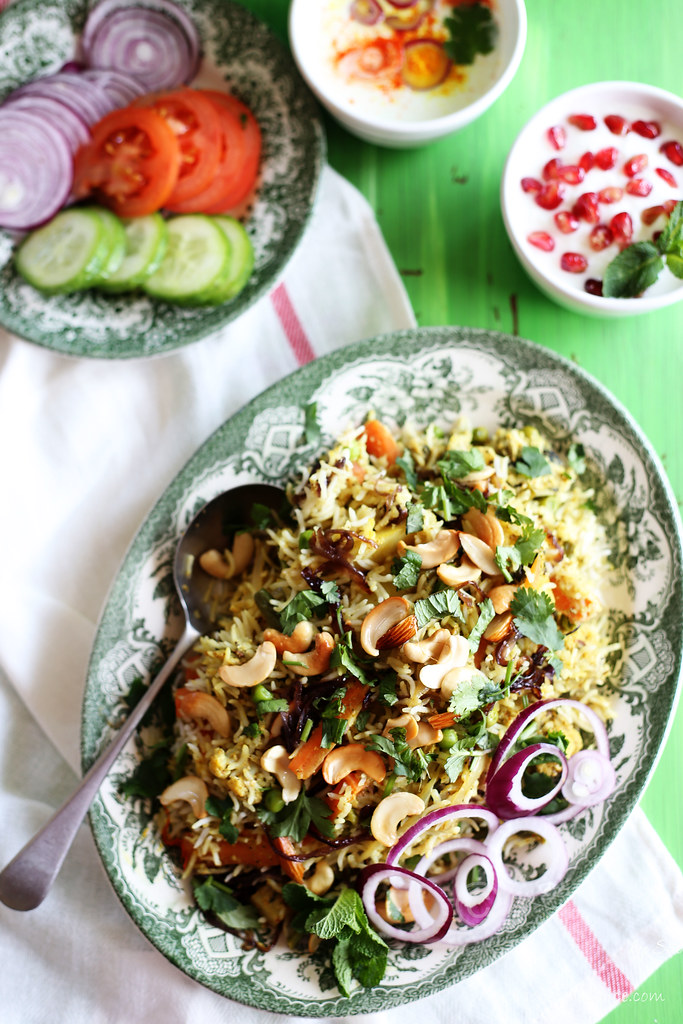
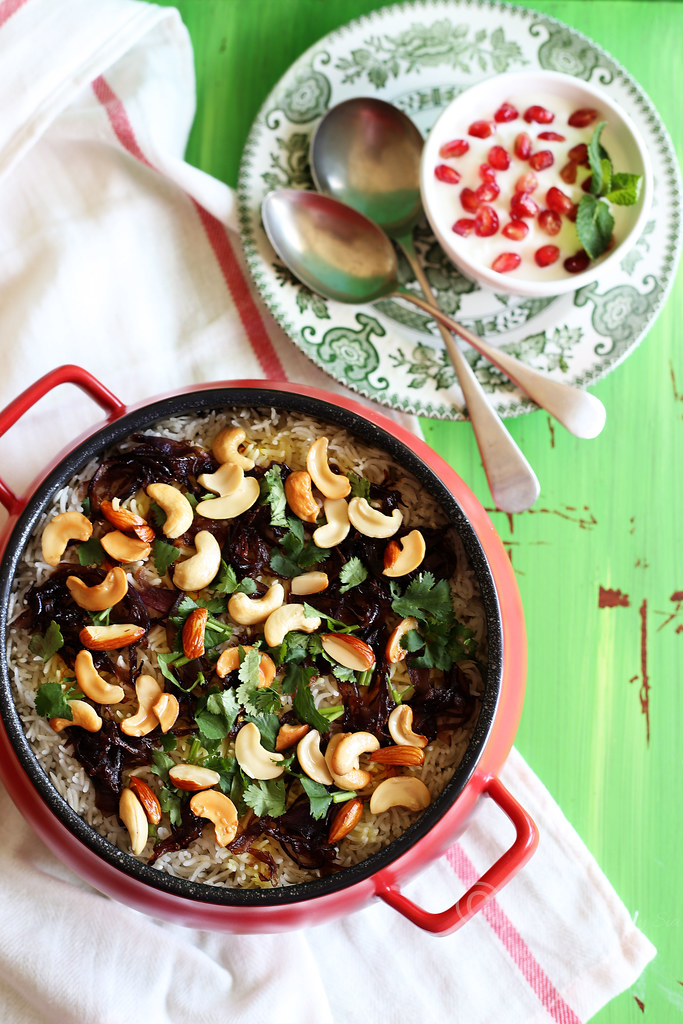
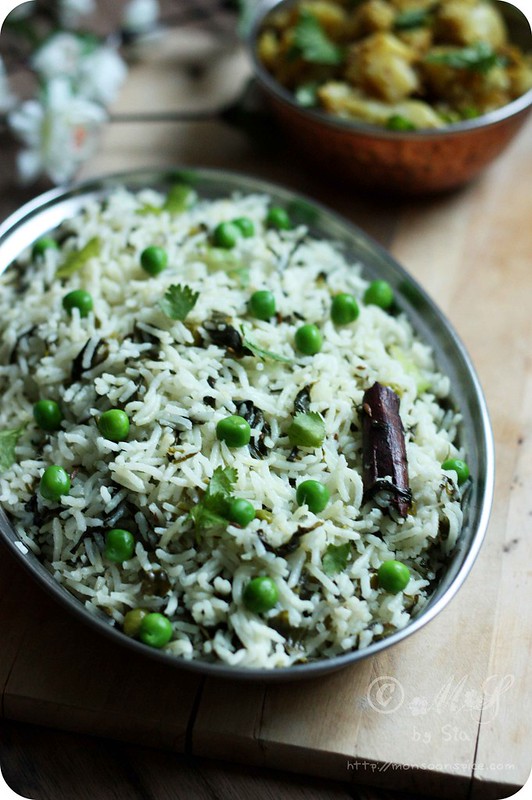
First dish which came to my mind with the word ‘Express’ was Moong Kichidi, a recipe I learnt from Archana who is a childhood friend of mine. It’s a simple dish which takes very little preparation and cooking time. Kichidi, medley of lentils and rice is a one pot dish cooked with different spices. Kichidi is not just a comfort food but also packed with nutrition. Serve hot Kichidi with thanda-thanda, cool-cool Raita and there is very less chance of you not falling in love with this simple and superb dish. If all these coaxing and cajoling did not excite you then what I am going to say next is surely going to sweep you off your feet. So listen to me carefully. Kichidi is one dish which will not just save your cooking time but also your partner’s time in cleaning the dish ;) So here comes my Moong Kichidi with Carrot Raita for this Summer Express Cooking.
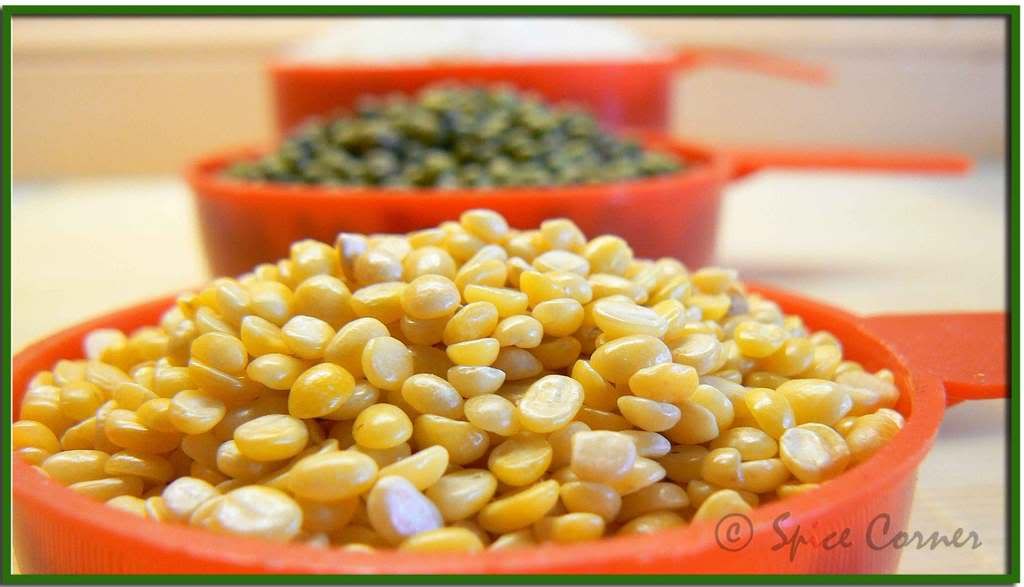
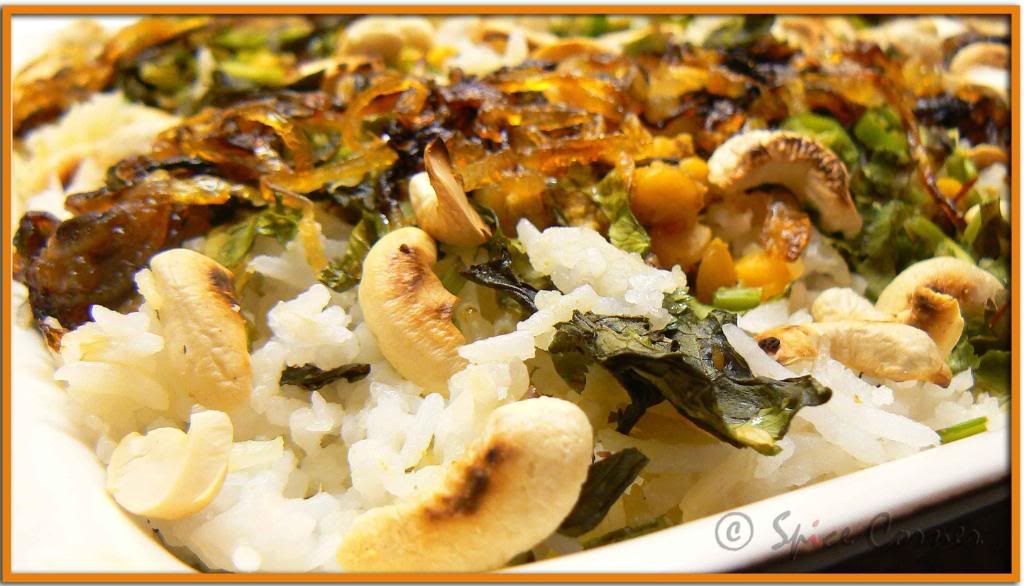
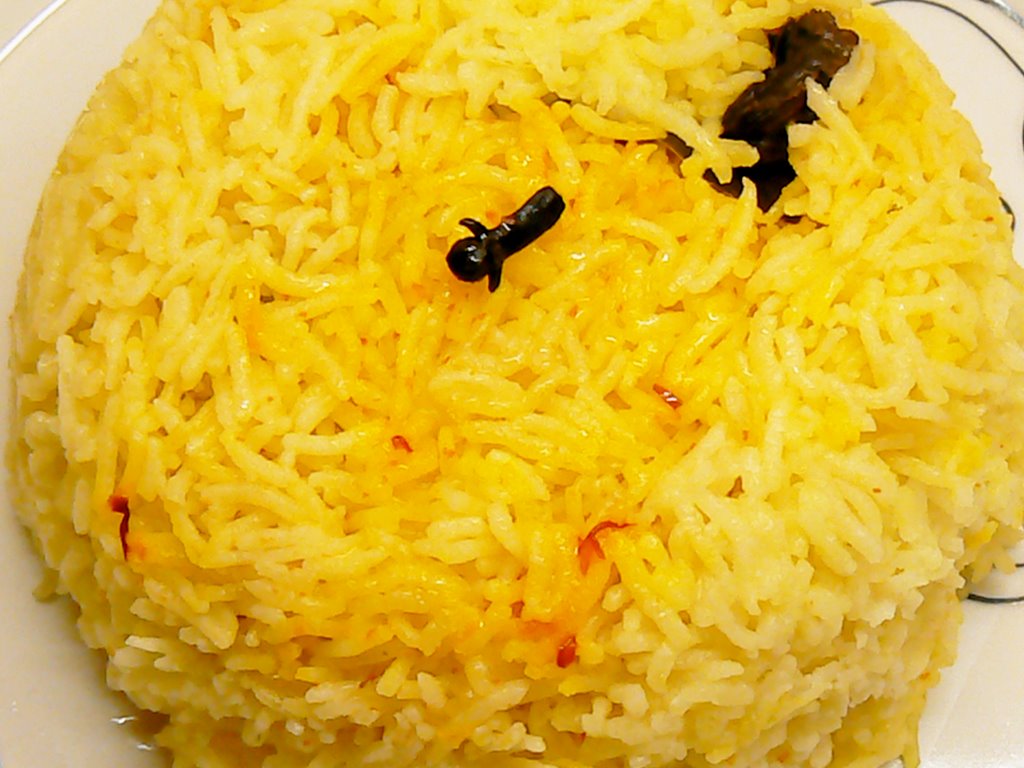
Rice, Whole & Split Moong
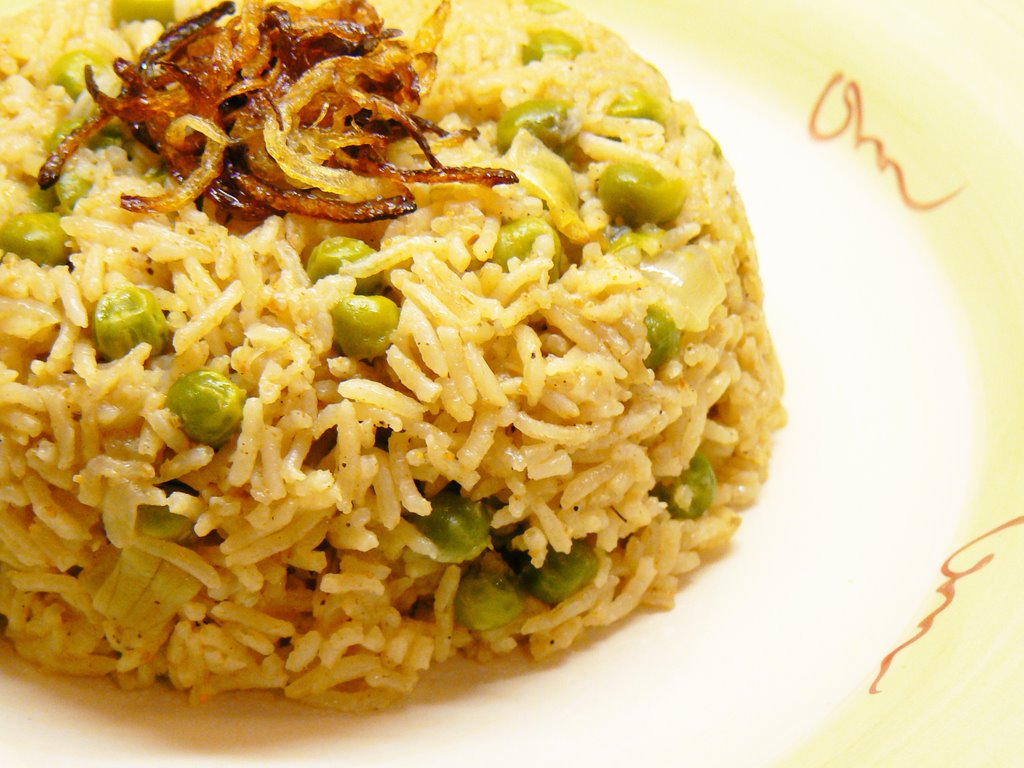
Moong Kichidi
Prep Time: 5 mins
Cooking Time: 15-20 mins
Serves: 3-4
Ingredients:
1½ cups Rice (I usually use Sona Masuri or Basmati)
½ cup Whole Moong Dal/Green Gram
¼ cup Split Moong Dal
1 large Onion, sliced
2-3 Green Chillies, split
1 inch Ginger, crushed and finely chopped
¼ tsp Turmeric Powder
1 tsp Mustard Seeds
1 tsp Jeera/Cumin Seeds
Few Curry Leaves
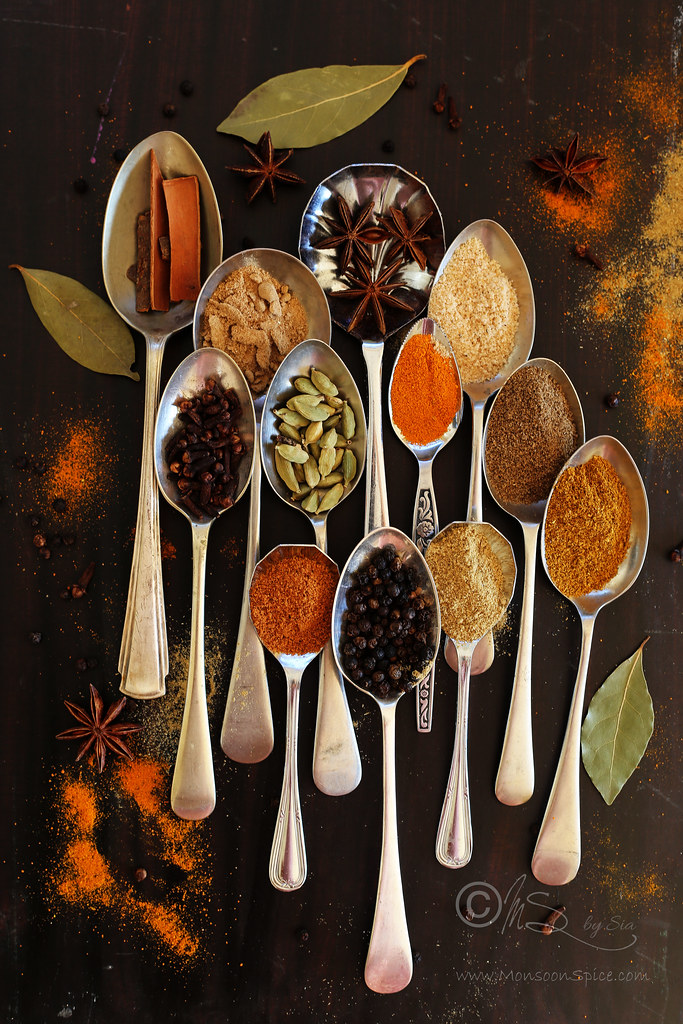
3 Cardamoms, crushed
2 Cloves
½ tsp Black Pepper Powder (Optional)
2 tbsp Oil/Ghee
3 tbsp Coriander Leaves, chopped finely
Salt to taste
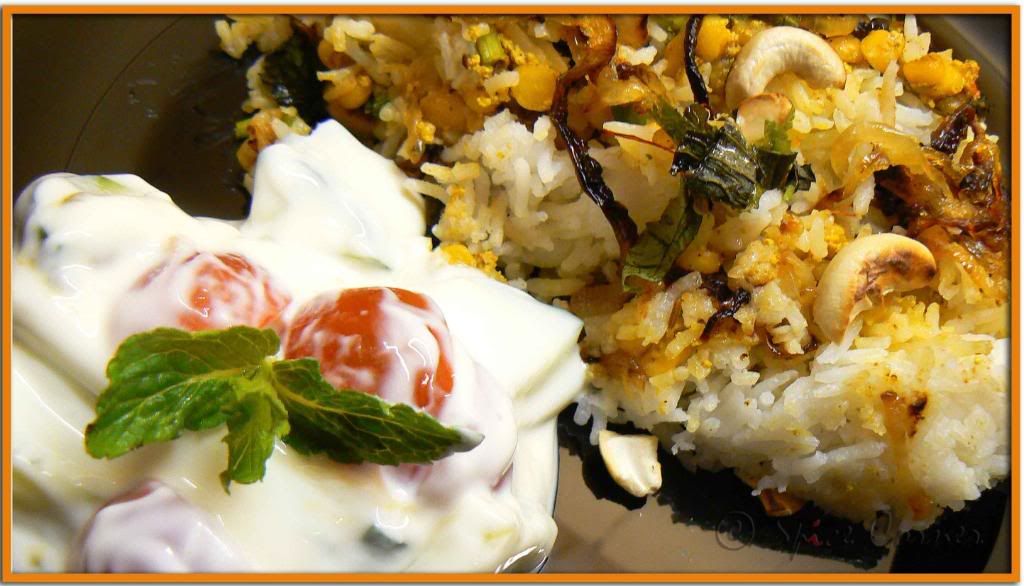
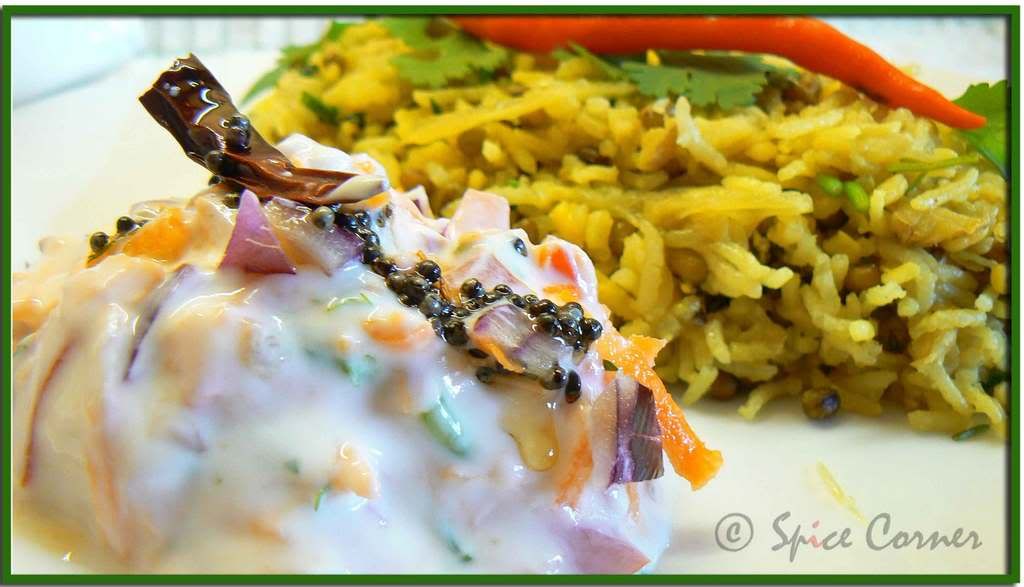 Moong Kichidi with Carrot Raita
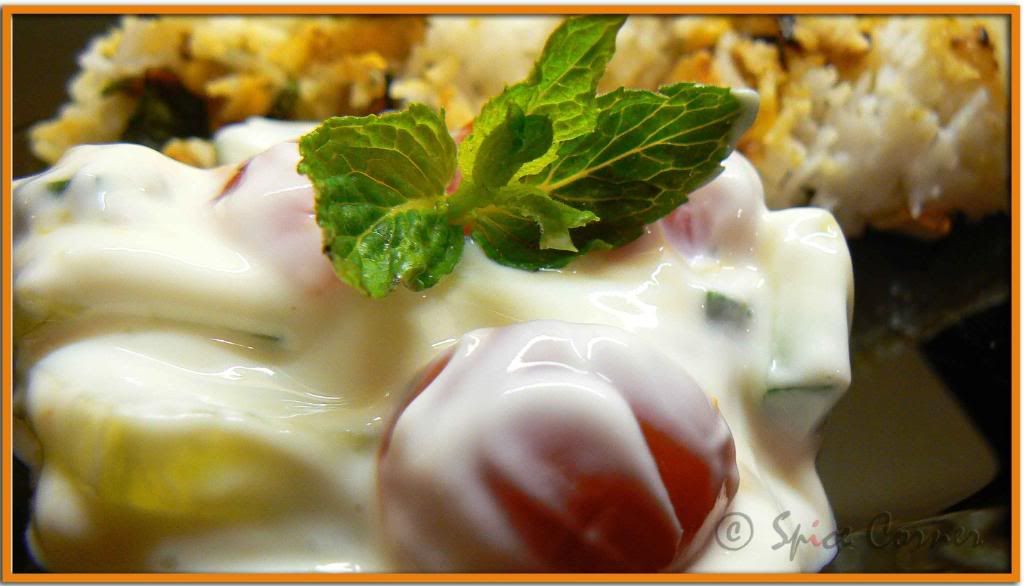
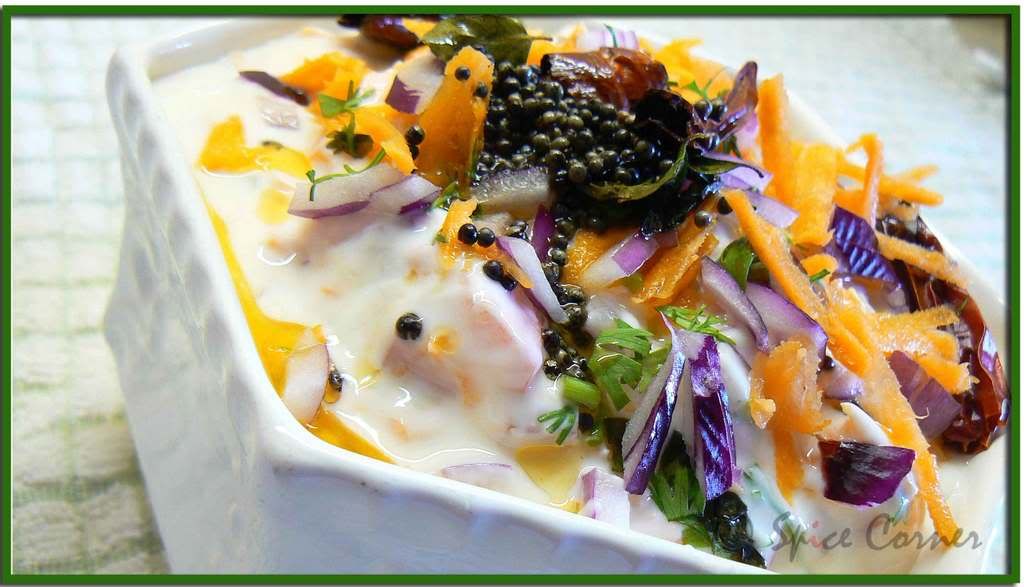
Carrot Raita
Prep Time: 5 mins
Cooking Time: 1-2 mins (Tempering)
Serves: 3-4
Ingredients:
2 cups Yogurt, beaten
1 big Carrot, grated
1 small Red Onion, finely chopped
1 large Tomato, finely chopped
1 green chilli, finely chopped
1 tsp Mustard Seeds
1 Dry Red Chilli
1 tsp Oil
Few Curry Leaves
Salt to taste
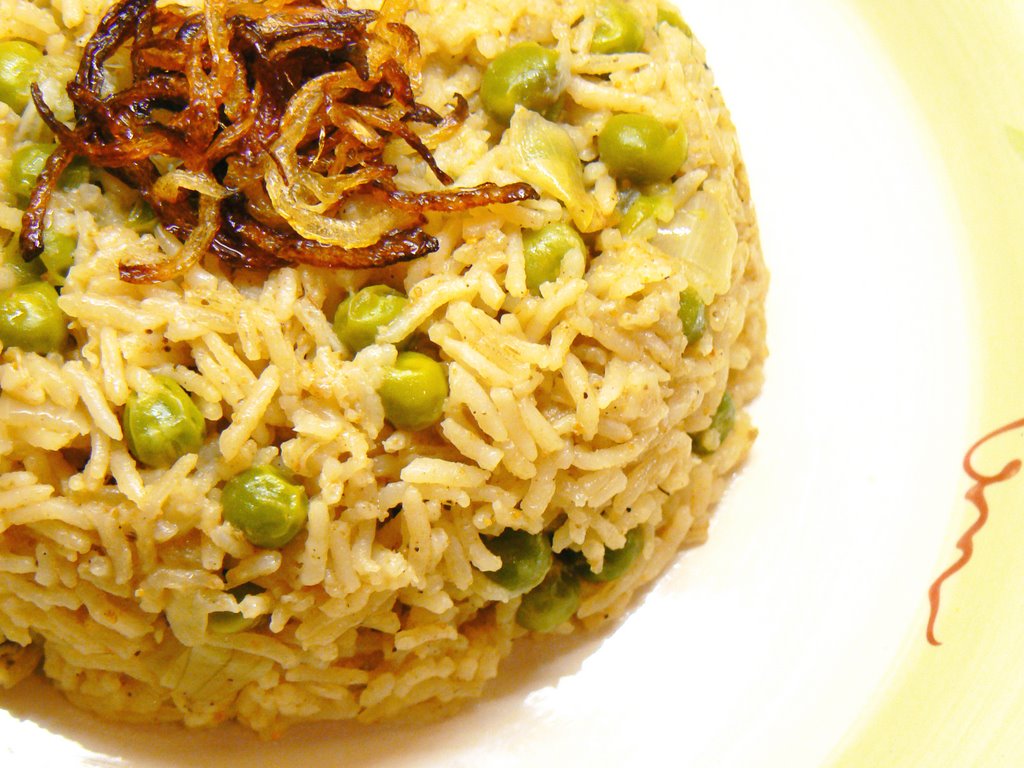
Moong Kichidi with Carrot Raita
Method:
0 to 8 minutes:
Wash rice and lentils and soak them in water for 5-10 minutes till required.
Chop onions (one for raita and one for kichidi), coriander leaves and ginger finely.
Slit green chillies in center.
Lightly crush the cardamom and clove in pestle and mortar.
Heat oil/ghee in pressure cooker.
~Take a small break and refresh the Food Blog Desam and your Blogroll for new posts.~
8-15 minutes:
Add mustard, jeera and curry leaves and sauté.
When mustard starts to pop, usually with in 30-40 seconds, add finely chopped onion, ginger and green chilli and sauté it for 1 to 1½ minutes.
Now add the crushed spices and sauté it for another minute or so till onions turn translucent.
Drain water from rice and dal and add them with sautéed onion and spices.
To this add turmeric powder, salt to taste and about 6 to 6 ½ cups of water and mix well(add more water if you like it more mushy and soft).
Close the pressure cooker lid and put its weight on and reduce the gas flame to medium.
15-22 minutes:
Peel and grate carrot.
Chop a tomato very finely.
Take yogurt in a mixing bowl and beat it with a whisk for around 30 seconds.
Mix grated carrot, coriander leaves, chopped onions and tomatoes to the yogurt.
Add salt to taste and mix well.
Heat oil in a tadka pan and add mustard, curry leaves and halved dry red chilli.
When mustard starts to pop n splutter transfer the tadka/tempering to raita and mix well.
Keep the raita in fridge to chill.
22-25 minutes:
~Hit refresh button again on your laptop and flick the TV channels~
~Drag your hubby from couch to clean the cutting board and knife and to clear the worktop~
~Meanwhile, set the dinner table~
25-30 minutes:
Switch off the gas after 10-15 minutes or 3-4 whistles.
Don’t rush to open the pressure cooker right away or you will end up with modern art in your kitchen with few nasty burns on your body.
Let it cool down for few minutes before releasing the pressure and open the lid.
After 30 minutes:
Add finely chopped coriander leaves and mix well.
Serve hot Kichidi immediately with super cool Carrot Raita and enjoy this wholesome meal.
(Err… Taking picture and eating time is excluded in this Summer Express Cooking right???? ;)
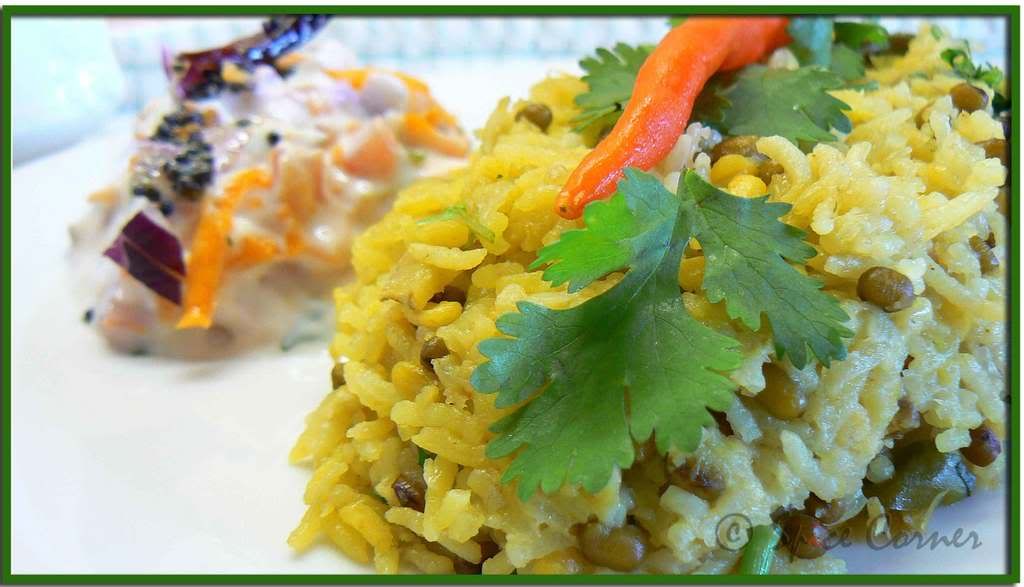 Moong Kichidi with Carrot Raita


 Print This Recipe