
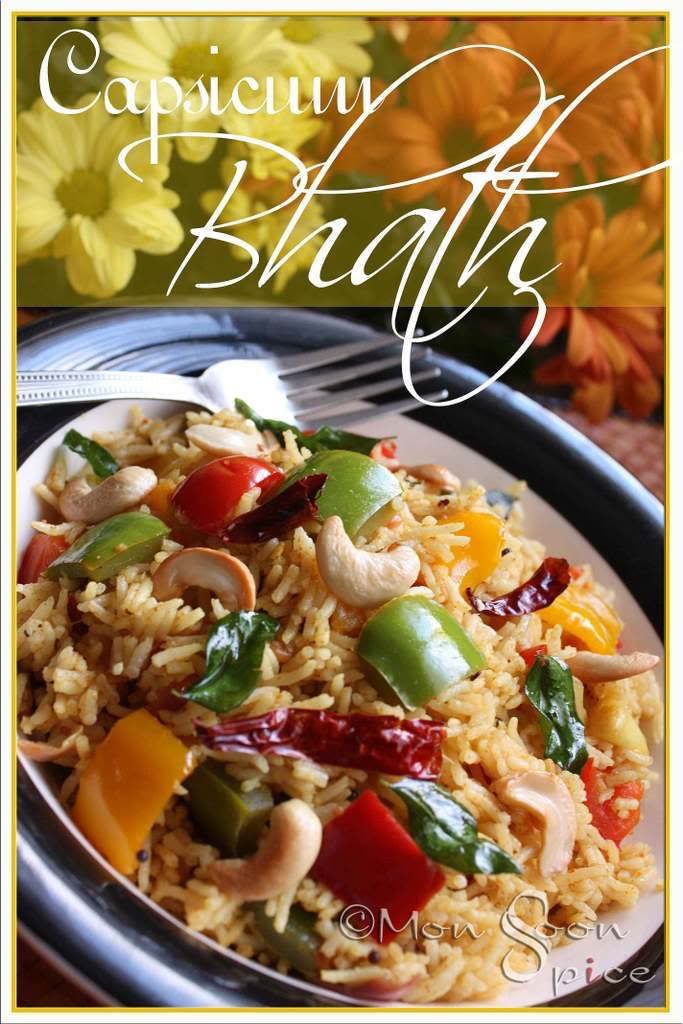
Capsicum Bhath
Yes, it’s still blank. Did you just ask me what is blank? Arrey, my mind yaar!!! Remember this rant? It’s been close to a week and still the story remains the same. What story? The tragic story of my life, no stories to share! Yes, no rants, no stories and not even gibberish to write as my brain seemed to have frozen my creative corner (?!). Although I have kept my small creative corner to thaw, I am clueless as how long it will take to defrost!
While it’s till on long, extended vacation I will continue to write posts with just recipes which are the important bit of this blog. After all Monsoon Spice is a food blog and somewhere down the line I seem to have deviated a bit and concentrating more on writing my biography than food itself. So this might be the only chance for me to write just about food. And come to think of it, this might be the only chance for my readers to save themselves from unnecessary pain in finger tips and eyes due to excessive scrolling and reading my life saga! So dear reader friend, enjoy this golden opportunity while it lasts because opportunity like this doesn’t come very often ;)
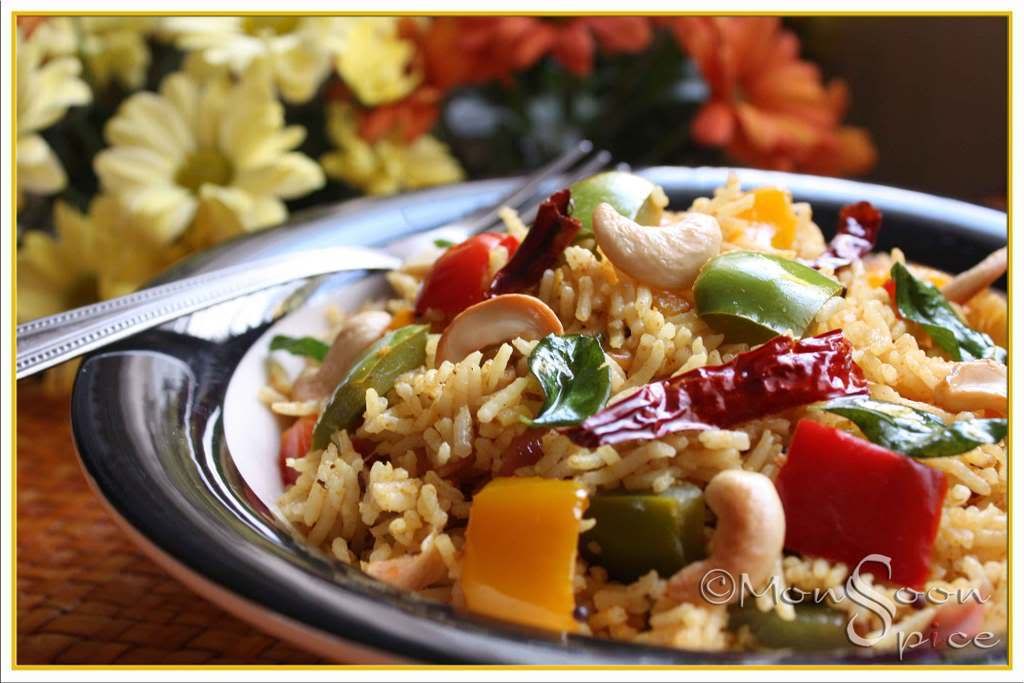
 Capsicum Bhath
So what do we have today? Well, we have another plate of delicious flavoured Rice, Capsicum Bhath. Very similar to Vangi Bhath that I had posted last month. Well, the truth is this is THE recipe for Vangi Bhath with just few extra ingredients but the purple beauties baby eggplants have been replaced by the colourful bell peppers. So why blog it when it is the same recipe? Because of Krish. K is allergic (literally) to eggplants and I am one of those nut cases who can eat anything cooked with eggplants every single day of my life (mmm… may be alternate days) and never get bored of it. Other day when I made Vangi Bhath powder I also happened to casually mention about my plan of using it in Capsicum Bhath and I remember him nodding his head. So yesterday when I mentioned about making Capsicum Bhath he didn’t show any interest and instead he had that look on his face when I had initially started cooking. He very much looked like the lab rat of my initial adventures in kitchen. Well, it’s not a very pleasant feeling when your husband doubts your cooking skill after 3 years of cooking (Ok, you can exclude first 6 months from it)!!! So I had this challenge of not only making something that looked appetizing but also delicious enough to make him ask for the second serving.
And boy, did I succeed in doing that or what!!! Not only it looked colourful and very much appetizing, it smelled heavenly. And the best thing of all is he even had it for dinner and licked the bowl clean ;) Now you know why I had to blog this recipe. Although the ingredients used are same as the Vangi Bhath, the taste is very different to that. It had slight sweet bites in between due to coloured peppers and jaggery. While the tamarind juice added wonderful sour note to it and the aromatic homemade Vangi Bhath Masala powder redefined the word ‘tasty’! When served with cool Cucumber & Mint Raita, this delicious plate of Capsicum Bhath was one exceptional meal that reminds us why simple food are the most loved ones. Just one look at that plateful of colourful Capsicum Bhath and I felt I am ready to say good bye to white winters! Don't you feel that the spring is in the air? I do...
And boy, did I succeed in doing that or what!!! Not only it looked colourful and very much appetizing, it smelled heavenly. And the best thing of all is he even had it for dinner and licked the bowl clean ;) Now you know why I had to blog this recipe. Although the ingredients used are same as the Vangi Bhath, the taste is very different to that. It had slight sweet bites in between due to coloured peppers and jaggery. While the tamarind juice added wonderful sour note to it and the aromatic homemade Vangi Bhath Masala powder redefined the word ‘tasty’! When served with cool Cucumber & Mint Raita, this delicious plate of Capsicum Bhath was one exceptional meal that reminds us why simple food are the most loved ones. Just one look at that plateful of colourful Capsicum Bhath and I felt I am ready to say good bye to white winters! Don't you feel that the spring is in the air? I do...
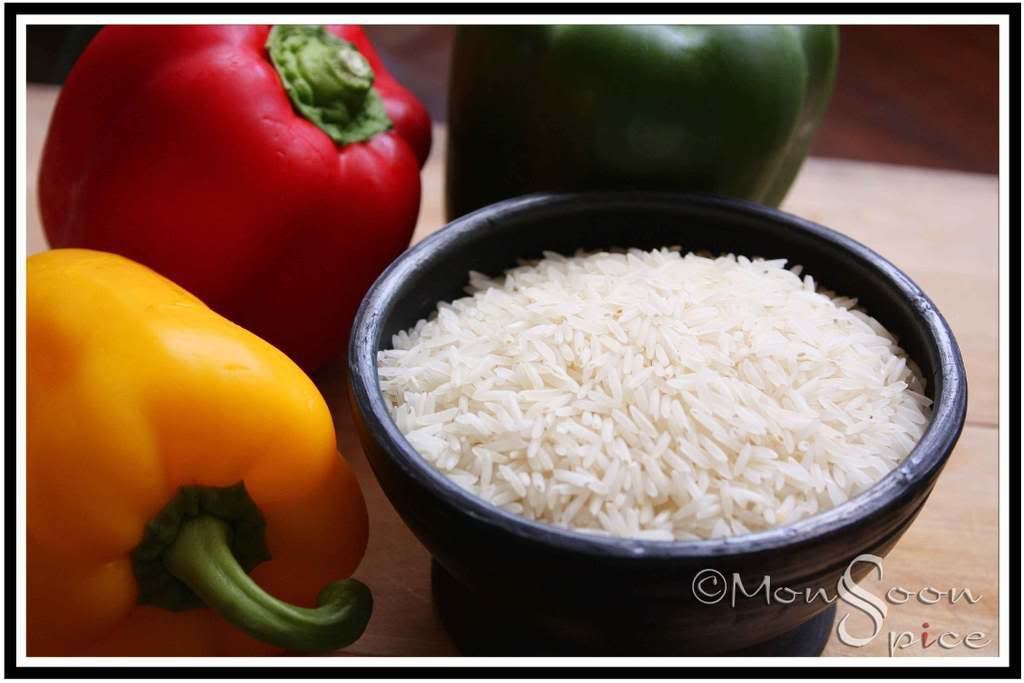
Coloured Peppers & Basmati Rice for Capsicum Bhath
 Print This Recipe
Capsicum Bhath (Spicy and Sour Coloured Bell Pepper Rice)
Prep Time: 10 mins
Cooking Time: 10 mins (If using leftover rice) to 30 mins
Serves: 4-5
Recipe Level: Easy/Beginner
Spice Level: Medium
Serving Suggestion: With Papad or with any Raita or with a cup of Curds/Yogurt
Prep Time: 10 mins
Cooking Time: 10 mins (If using leftover rice) to 30 mins
Serves: 4-5
Recipe Level: Easy/Beginner
Spice Level: Medium
Serving Suggestion: With Papad or with any Raita or with a cup of Curds/Yogurt
Ingredients:
2 cups Rice or 6-8 cups Cooked Rice (Preferably Basmati or Sona Masuri)
3 medium Capsicums/Bell Peppers (I used red, yellow and green), cut into bite sized pieces
1 large Red Onion, cut into bite sized pieces
1-2 Green Chillies, slit (Optional)
1 small lime sized Tamarind Pulp, soaked in ¼ cups of warm water and juice extracted
1-2 tbsp Jaggery (Adjust acc to taste)
2-3 tbsp Vangi Bhath Powder (Adjust acc to taste)
¼ tsp Turmeric Powder
Few Cashews, roasted in little ghee
Salt to taste
For Tadka/Tempering:
1 tsp Mustard Seeds
½ tsp Jeera/Cumin Seeds
1 tbsp Urad Dal/Split Black Grams
1 tbsp Channa Dal/Split Chickpeas
2 Dry Red Chillies, halved
2 springs of Fresh Curry Leaves
¼ tsp Hing/Asafoetida
2 tbsp Oil/Ghee or combination of both (You can use more if needed)

Capsicum Bhath
Method:
Cook rice in enough water and let it cool completely. Then take this cooked rice and add tbsp of oil to it. Mix well making sure that every grain is separate. Keep it aside till needed.
Heat oil in a pan and add mustard seeds to it. When it starts to pop and splutter, add jeera, channa dal, urad dal, halved dry red chillies, hing and curry leaves. Sauté till the lentils turn golden brown. Add slit green chillies, if using, and onion pieces to it and sauté till it turns translucent, about 2 mins.
Mix in bell peppers, turmeric and stir well. Keep stirring continuously till every piece of pepper is coated well with tadka and the skin starts to wilt, about 3-4 mins. Make sure that you don’t over cook the peppers and it should retain its crunchiness.
Next add tamarind water, jaggery, vangi bhath powder, and salt to taste and mix well. Cover and cook at medium heat for 2-3 more minutes, stirring in between. When the capsicums are cooked partially, add cooked rice and roasted cashews and mix well. Cook for 2 more minutes till every grain of rice is heated through and the spice mixture is coated well.
Serve this delicious Capsicum Bhath with cool Raita and Papads and enjoy.
Heat oil in a pan and add mustard seeds to it. When it starts to pop and splutter, add jeera, channa dal, urad dal, halved dry red chillies, hing and curry leaves. Sauté till the lentils turn golden brown. Add slit green chillies, if using, and onion pieces to it and sauté till it turns translucent, about 2 mins.
Mix in bell peppers, turmeric and stir well. Keep stirring continuously till every piece of pepper is coated well with tadka and the skin starts to wilt, about 3-4 mins. Make sure that you don’t over cook the peppers and it should retain its crunchiness.
Next add tamarind water, jaggery, vangi bhath powder, and salt to taste and mix well. Cover and cook at medium heat for 2-3 more minutes, stirring in between. When the capsicums are cooked partially, add cooked rice and roasted cashews and mix well. Cook for 2 more minutes till every grain of rice is heated through and the spice mixture is coated well.
Serve this delicious Capsicum Bhath with cool Raita and Papads and enjoy.


