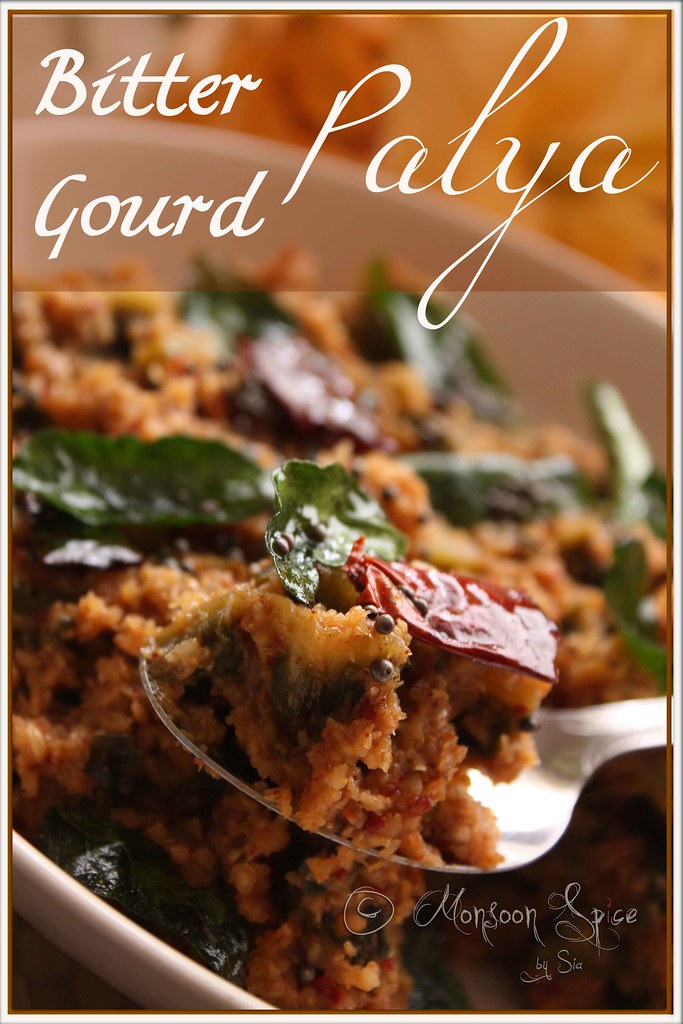
Haagalakai/Bitter Gourd Palya
… Said smiling grandmother to her little grand daughter who, as usual, was perched on kitchen counter as she watched her Ajji chop bitter gourds for that day’s meal. ‘Bitter’ isn’t something that little girls liked and her feelings were painted clearly on her face when she twitched her nose in distaste and deep frown was formed between her dark brows. “Think of it, it isn’t for bitter you would never have appreciated the sweetness of one’s life”, said grandmother with knowing look on her serene face.